
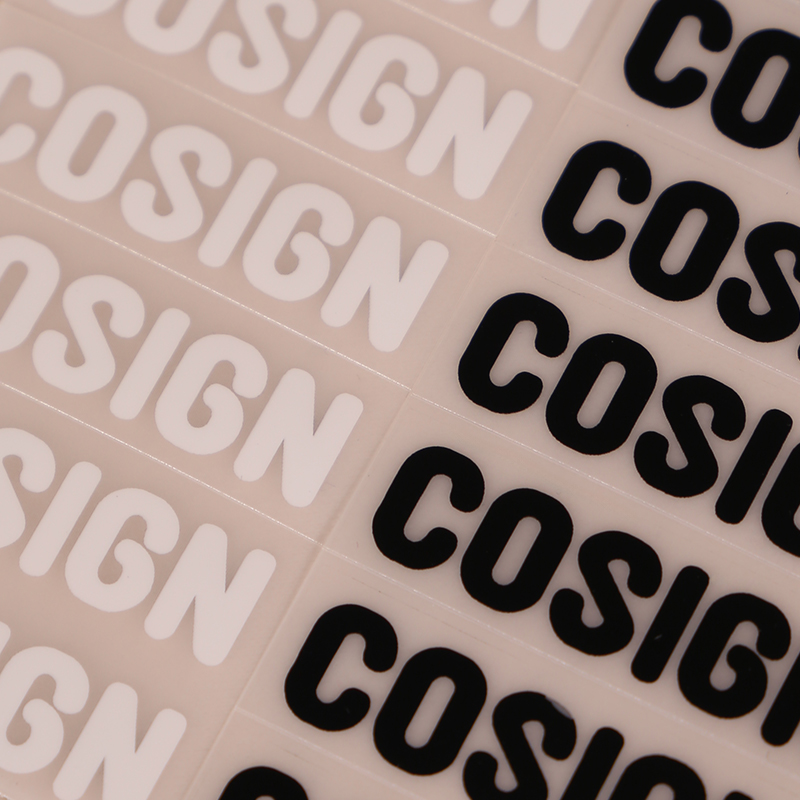
What size should a heat transfer label be?
A 40 × 15 mm applied design can suit a short wordmark, while 45 × 30 mm gives a compact neck label more height for a logo and size marking. A small sleeve logo might start at 60 × 20 mm. These are layout examples, not universal or stocked transfer sizes.
For custom heat transfer labels, measure the design that remains on the garment after application. The carrier sheet around it is a separate size. This distinction matters when a supplier shows a transfer on a much larger piece of film.
Applied artwork size examples
All dimensions are width × height of the outermost applied artwork, viewed upright on the garment. Spaces between separate letters or symbols are included in this overall bounding rectangle. Clear carrier margins outside the artwork are excluded.
| Applied artwork, mm | Approx. inches | Possible use |
|---|---|---|
| 20 × 10 | 0.79 × 0.39 | Small size mark or simple symbol |
| 40 × 15 | 1.57 × 0.59 | Short wordmark |
| 45 × 30 | 1.77 × 1.18 | Compact neck logo and size |
| 50 × 40 | 1.97 × 1.57 | Neck design with several short lines |
| 60 × 20 | 2.36 × 0.79 | Wide sleeve or chest detail |
| 70 × 30 | 2.76 × 1.18 | Larger logo with more open space |
Approximate inches use NIST's exact 25.4 mm per inch conversion. Keep the millimeter dimensions as the controlling size when using these examples.
A 48 × 24 mm design does not need a 48 × 24 mm carrier
Imagine a logo and size marking that together occupy 48 × 24 mm. For this planning example, a carrier extends 5 mm beyond the artwork on every side. Its overall size would be 58 × 34 mm: 48 + 5 + 5 across, and 24 + 5 + 5 vertically.
The applied design is still 48 × 24 mm. The extra carrier margin helps with handling and positioning; it does not become part of the printed logo. Five millimeters is an illustration, not a fixed carrier requirement. The actual sheet arrangement depends on the transfer type and how the order is supplied.
When comparing quotations or artwork drawings, naming both measurements prevents a large carrier from being mistaken for a larger garment decoration.
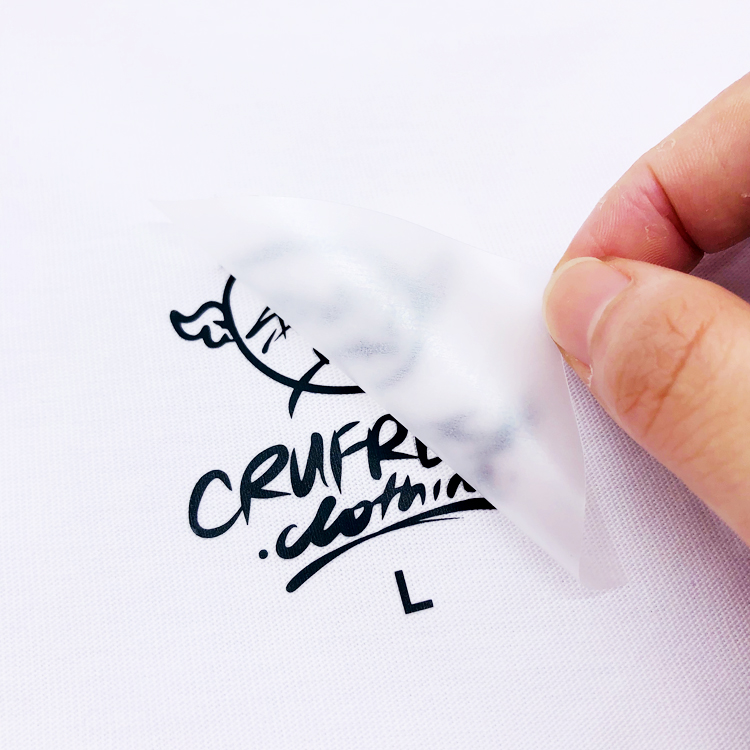
Use the available flat area on the garment
A neck transfer needs to fit below the neckline without crowding its curve or seam. A sleeve design may have a narrow flat area, especially on a small garment. The position should give the artwork room and allow the application equipment to press it evenly.
Raised seams, zippers and collars can interfere with pressure across a transfer. STAHLS' heat-press guidance explains this effect. We help plan the location and application around your garment construction instead of assigning one distance from the neck to every style.
Size the complete design, including the smallest details
A large wordmark may fit at a reduced width while its small subtitle becomes difficult to read. Thin strokes and the gaps inside letters also change as the whole design gets smaller. Simplifying the secondary detail can preserve the logo better than shrinking everything together.
For a neck design, the brand name, size and any other supplied wording need distinct space. A separate size mark may be enough when the garment already has a care label elsewhere. We can help with a simple arrangement without adding information just to fill the available rectangle.
Choose the finish with the garment
We offer PU, TPU, silicone and transfer-film options, with matte, glossy or raised effects and stretch options for suitable garments. The same dimensions can look more prominent with a raised finish than with a simple flat wordmark.
A broad solid area also creates a different decoration from fine lettering spread across the same width. We can help balance the look and feel on your fabric. An elastic option does not mean every transfer is suitable for every stretch fabric; the material and garment need to work together.
Make the size decision on an applied sample
The finished result depends on both the design and its application. Time, temperature and pressure are part of the material-and-fabric combination, as described in STAHLS' application advice. There is no single pressing setting for all heat-transfer labels.
An applied sample lets you see the artwork at its actual size on the garment, including its position and feel. We help agree suitable settings and the appearance, adhesion and washing requirements before bulk use. That is more useful than judging only the transfer while it is still on its carrier.
Frequently Asked Questions
Related Guides & Products
- Custom Heat Transfer Labels
- Size Label Size Guide
- Custom Brand Labels
- Silicone & TPU Label Size Guide: Shape, Base & Raised Detail
Share your artwork, a fabric reference and the quantity. We will help with the applied size, finish and application.
Discuss Heat Transfers