
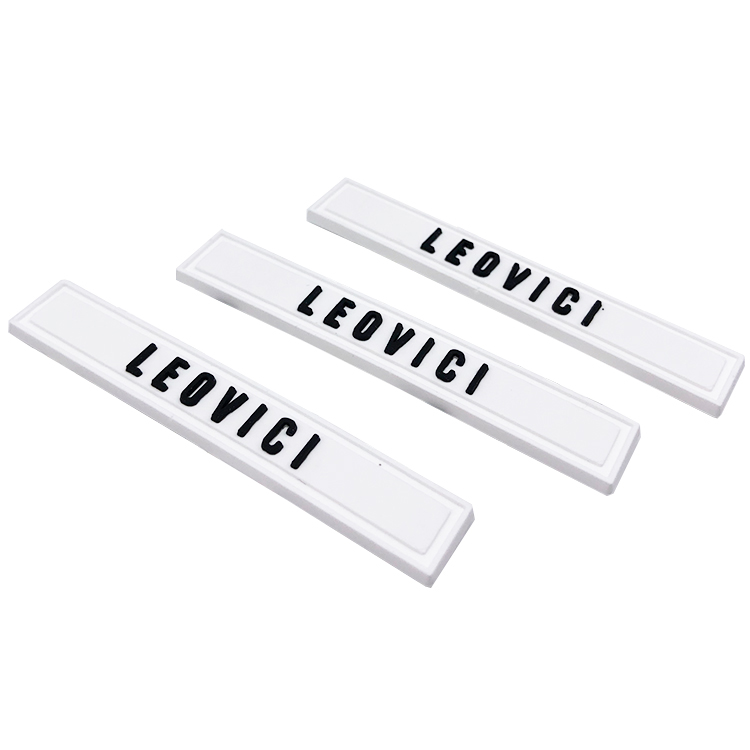
Size the whole label, then the raised logo
For a compact silicone or TPU logo, 35 × 25 mm overall is one useful planning example. A long wordmark may suit a 60 × 20 mm strip instead. Include the complete base in those dimensions, even when the base is transparent. The colored logo may occupy only part of that space.
We make custom silicone and TPU labels with a longest side of 10–100 mm. The width, height and thickness are developed around your artwork and garment. This range describes the longest side; it does not mean every design can fit at its smallest end.
Silicone and TPU label dimensions to compare
The table gives planning examples, not standard sizes or stocked molds. Width × height means the finished outer outline, viewed from the front with the logo upright. It excludes thickness, which is a separate dimension. For a circle, use its diameter.
| Placement or layout | Overall width × height | Approx. inches | What to leave room for |
|---|---|---|---|
| Small sleeve mark | 25 × 15 mm | 0.98 × 0.59 | A simple symbol or short name |
| Compact chest logo | 35 × 25 mm | 1.38 × 0.98 | Artwork plus the surrounding base |
| Bag or outerwear badge | 45 × 30 mm | 1.77 × 1.18 | Separate color areas and a clear edge |
| Long wordmark | 60 × 20 mm | 2.36 × 0.79 | Letter spacing across the strip |
| Round emblem | 40 mm diameter | 1.57 diameter | A round design within its outer rim |
Inch values are approximate. NIST defines 1 inch as exactly 25.4 mm; we keep the selected millimeter dimensions as the reference for these examples.
Separate base thickness from logo height
A raised label has more than one level. The base sits beneath the design, and the highest part of the logo adds to it. Kaishen’s silicone label specifications list base thickness and raised or recessed depth separately. Keeping those measurements separate makes the intended profile easier to describe.
For a simple example, a 1.2 mm base plus a 0.6 mm raised logo gives a maximum body thickness of 1.8 mm. That excludes any backing. These are illustration numbers, not our standard thicknesses or a promise that every design uses the same structure. A side view of your design can show which level each dimension refers to.
A taller logo can look bolder without increasing its front-facing size. It also changes how far the label stands above the garment. We can help balance the profile with the size and position you have in mind.
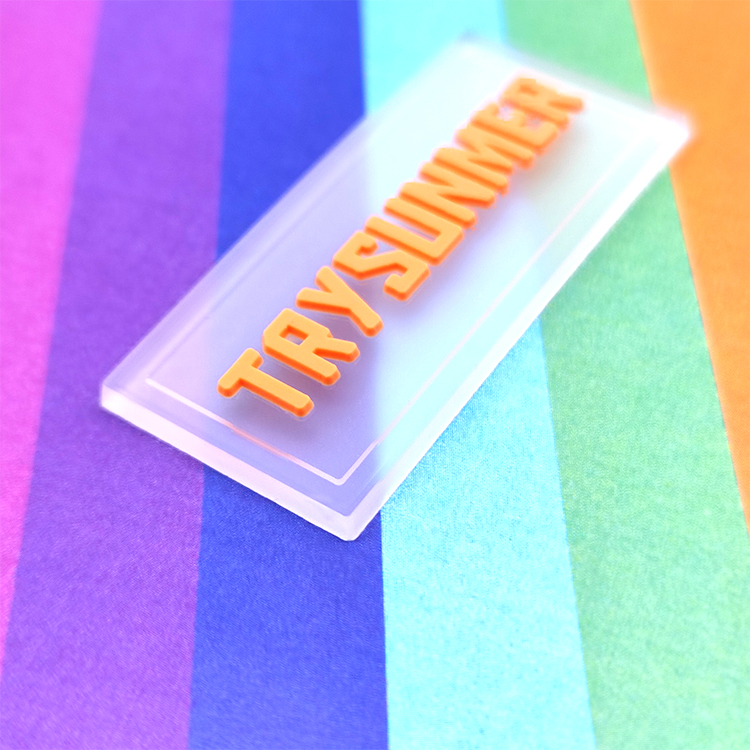
A clear base still takes up space
Transparent material lets the fabric show through around the logo, but it still has an outer edge. A 30 mm wide colored wordmark on a 40 mm wide clear base is a 40 mm wide label. The surrounding space can support the design and provide an area for the chosen attachment.
For a letter-shaped design, distinguish the width of the complete word from the width of each character. If the letters are supplied as separate pieces, their spacing is part of the finished layout. We can show the full arrangement in a preview instead of treating every letter as an unrelated label.
Choose a size for the garment’s surface
A narrow sleeve, a curved hat and a broad bag panel give a label different amounts of room. Keep the full outline within the intended panel and allow the design to sit clear of nearby seams or hardware. A smaller, simpler mark may suit a moving area better than a wide strip.
We offer silicone, TPU and selected TPE materials. Material choice, thickness and attachment work together; the same dimensions do not make two materials behave identically. We discuss the garment and the feel you want before developing the label.
For sewn labels, the artwork needs room for the stitch line. Adhesive-backed versions need a backing suited to the receiving surface. Neither option has one universal edge allowance that works for every outline.
Settle the outline before the mold
We can prepare a free design preview showing the overall dimensions, raised areas and attachment space. A sample then shows the label’s actual profile on the intended product.
Send your logo, a garment photo and the position you want. We will help choose a practical outline and explain the tooling. There is no minimum order, and mold fees are quoted separately.
Frequently Asked Questions
Related Guides & Products
- Custom Silicone & TPU Labels
- Custom PVC Labels
- Sample Development
- PVC Label Size Guide: Custom Shapes, Borders & Logo Detail
Send your logo and a photo of the garment or accessory. We’ll help with the outline, raised detail and attachment.
Discuss Silicone & TPU Labels