
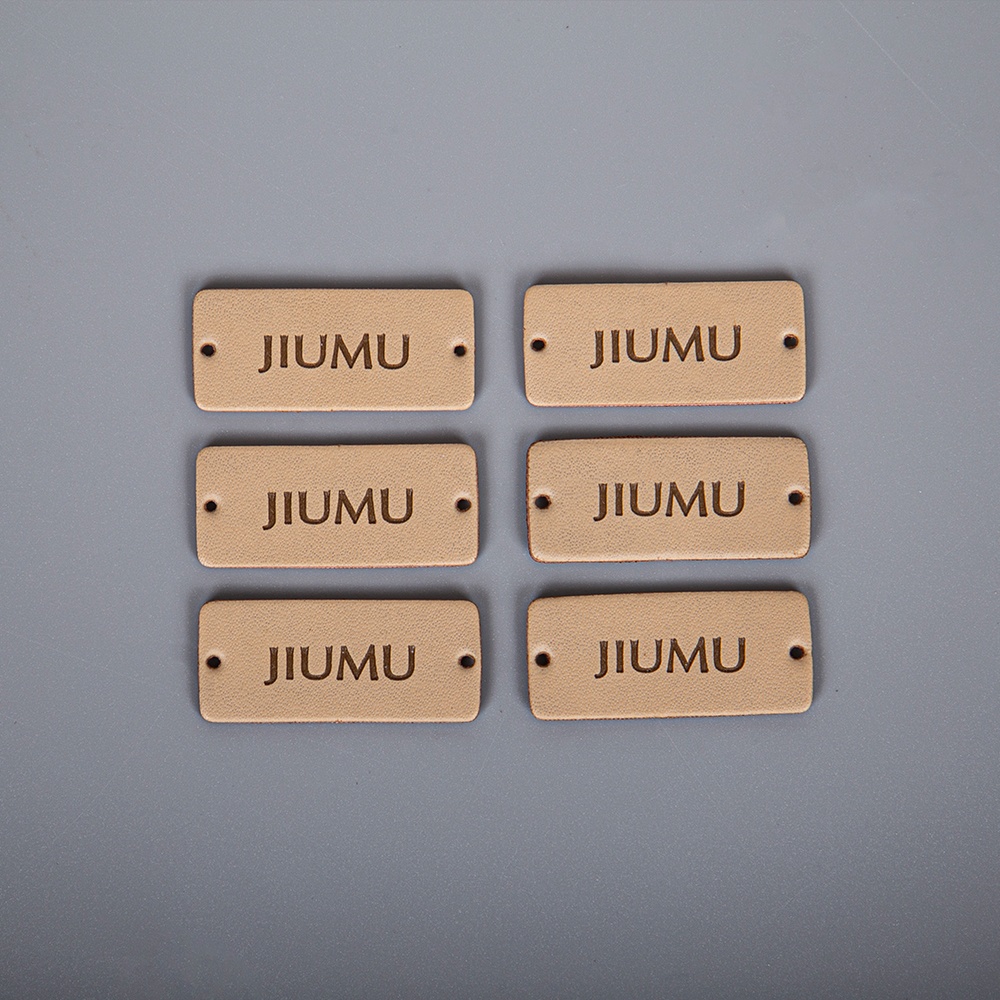
Start with the space the leather label will occupy
A leather label adds a visible panel to the product, so begin with its footprint. A 60 × 35 mm rectangle is one planning example for a jeans waistband; a 35 × 20 mm label gives a smaller detail on a hat or accessory. These are suggested layouts, not standard sizes or ready-made stock.
We make leather and leather-look labels with your logo, shape and finish. The right dimensions depend on the garment panel, the design and how the label will attach.
Leather label size examples
The table describes the complete cut outline, width × height, viewed with the logo upright. It includes any border around the logo. For a round label, use diameter. Thickness and attachment details are specified separately.
| Placement | Finished width × height | Approx. inches | Why try this shape? |
|---|---|---|---|
| Small hat or accessory | 35 × 20 mm | 1.38 × 0.79 | A short wordmark with a modest footprint |
| Bag front | 45 × 30 mm | 1.77 × 1.18 | Room for an emblem and short name |
| Jeans waistband | 60 × 35 mm | 2.36 × 1.38 | A wide branding panel |
| Outerwear badge | 50 × 50 mm | 1.97 × 1.97 | A centered or stacked design |
| Round emblem | 35 mm diameter | 1.38 in diameter | A compact circular mark |
Inch values are approximate, using 1 inch = 25.4 mm. The final drawing should use one controlling unit.
Fit the panel before filling it with artwork
On jeans, leave the label clear of belt loops, pocket openings and bulky seams. A wide patch should sit on the intended waistband area without covering a feature the wearer needs. On a bag, compare the patch with the front panel and nearby handles or zippers.
A hat gives a different problem: a flat drawing does not show the curve of the finished crown. Try a paper outline in the intended place, then assess the chosen material on the actual hat. A smaller label may sit more naturally without needing a complicated shape.
Give the logo and stitching their own space
Do not size a patch only from the logo’s outside edge. A pressed mark, foil border or line of stitching needs room around it. Our design can show the complete outline, the stitch line and the artwork as separate elements.
For a 60 × 35 mm label, imagine a stitch line 3 mm in from every edge. Its rectangular path is 54 × 29 mm. If the artwork stays 5 mm in from every edge, its available box is 50 × 25 mm, leaving 2 mm between that box and the stitch line. These offsets illustrate a layout; they are not universal sewing margins.
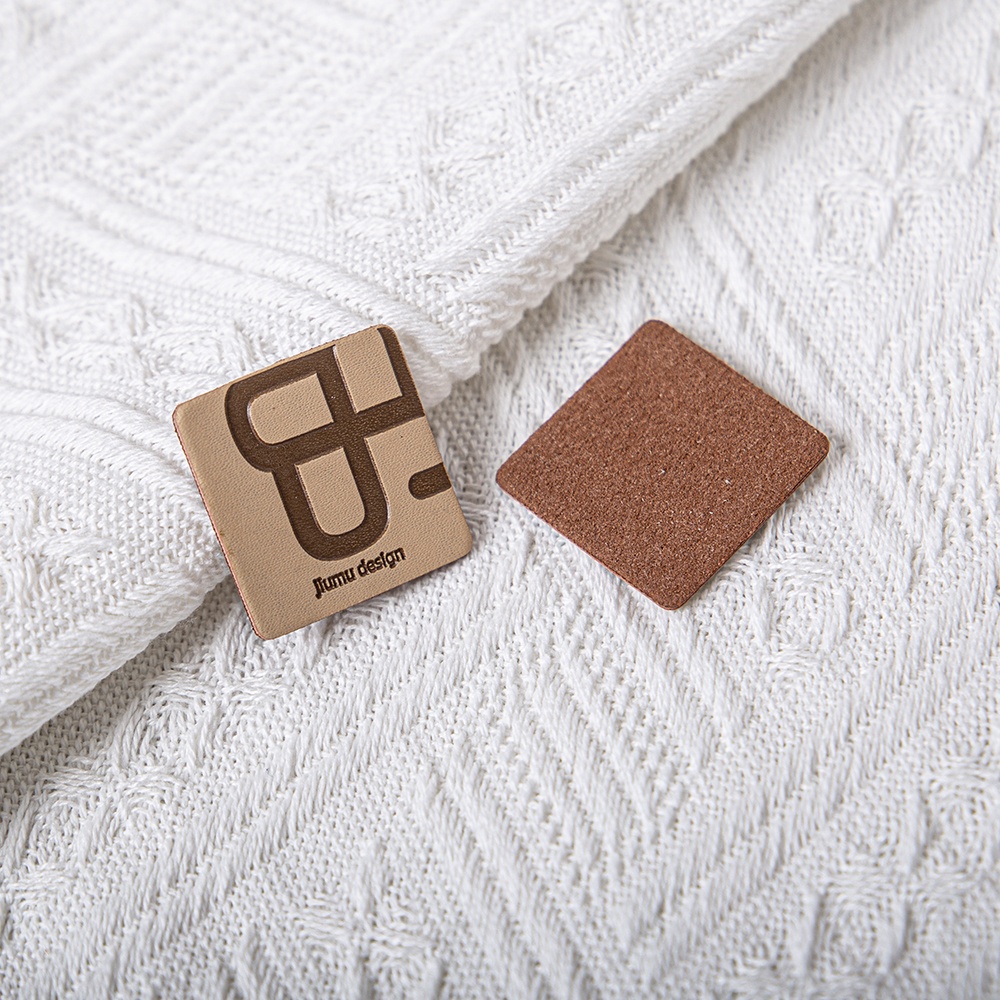
If your reference uses attachment holes, their position also belongs on the drawing. Hole-based attachment is an established option illustrated by Wunderlabel’s leather labels. Send us the intended attachment so we can review it with the material and outline.
Choose the thickness with the material and logo finish
Width and height tell you how much area the label covers; thickness tells you about its profile. They are separate choices. A thick-looking design in a photograph is not a measured thickness, and genuine leather, PU, microfiber and recycled leather do not all feel the same at the same dimensions.
We can help compare a pressed logo, foil, print, laser detail or embroidery for the chosen material. A large solid emblem and several fine text lines need different layouts. Keep the most important mark clear instead of making every line smaller to preserve a preferred outside size.
Painted edges and visible stitching also change the appearance. Include them when choosing the sample, so the final outline is judged as a complete label.
See the label on the finished product
A loose sample shows the material and decoration, but placing it on the garment reveals its scale. Look at the design from a normal viewing distance and see how the edges sit against the fabric.
For products that will be washed, tell us the intended care routine. Size alone does not establish washing suitability. We agree the material, finish and attachment for your application instead of promising that every leather label behaves the same way.
Frequently Asked Questions
Related Guides & Products
- Custom Leather Labels
- Custom Brand Labels
- Sample Development
- PVC Label Size Guide: Custom Shapes, Borders & Logo Detail
Share your logo and a product photo. We’ll help choose a patch size, material and finish.
Discuss Leather Labels