
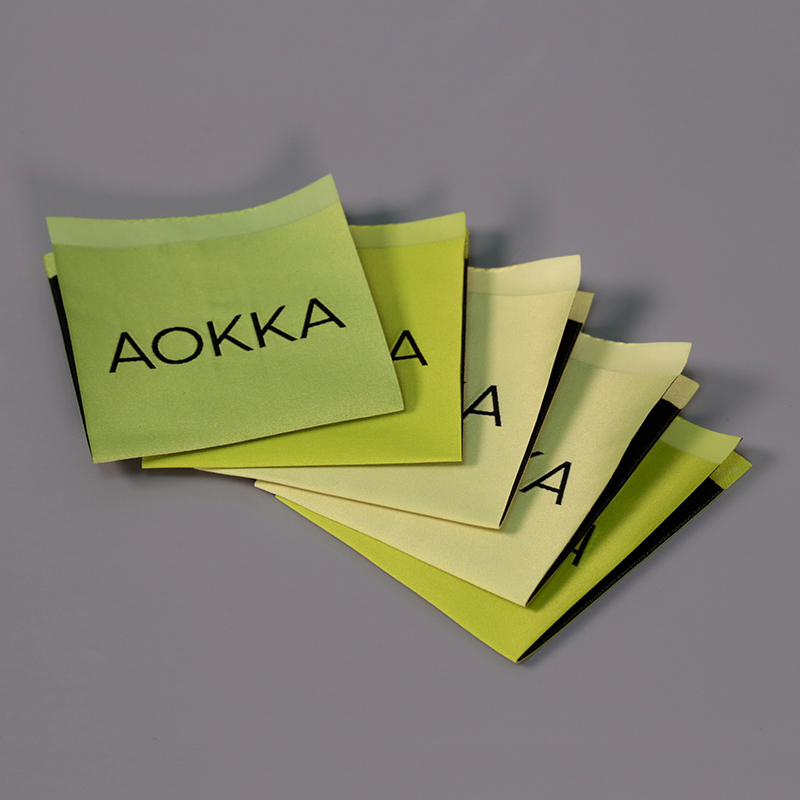
What size should a clothing label be?
Start with the space on your garment and the information the label needs to carry. A 50 × 20 mm visible face is one planning example for a wide neck label; 20 × 20 mm gives a compact hem detail; 30 × 70 mm offers a longer face for care information. These are starting points for a design, not standard sizes or stock products.
At LuxoLabel, we help turn your logo, wording and garment reference into a suitable label. The important distinction is between the part you see and the full piece of fabric needed to make it.
Clothing label size reference table
All examples below describe the target visible face after sewing, as width × height, with the wording read upright. They exclude material hidden in seams or turned under in folds. The clear area for your artwork will be smaller where stitching or a border uses part of that face.
| Placement | Width × height | Approx. inches | A possible use |
|---|---|---|---|
| Wide neck label | 50 × 20 mm | 1.97 × 0.79 in | A horizontal brand name |
| Square neck label | 30 × 30 mm | 1.18 × 1.18 in | A stacked logo or compact emblem |
| Hem label | 20 × 20 mm | 0.79 × 0.79 in | A small logo on the outside of a garment |
| Side-seam label | 15 × 25 mm | 0.59 × 0.98 in | A narrow folded brand tab |
| Long care label | 30 × 70 mm | 1.18 × 2.76 in | Several lines of garment information |
| Small size tab | 12 × 15 mm | 0.47 × 0.59 in | A single size marking, such as M |
Use millimeters as the controlling unit for these examples. NIST defines 1 inch as exactly 25.4 mm; the inch values above are rounded to two decimal places. We adjust the final dimensions to the artwork, material and attachment.
Choose the size around its place on the garment
Neck labels
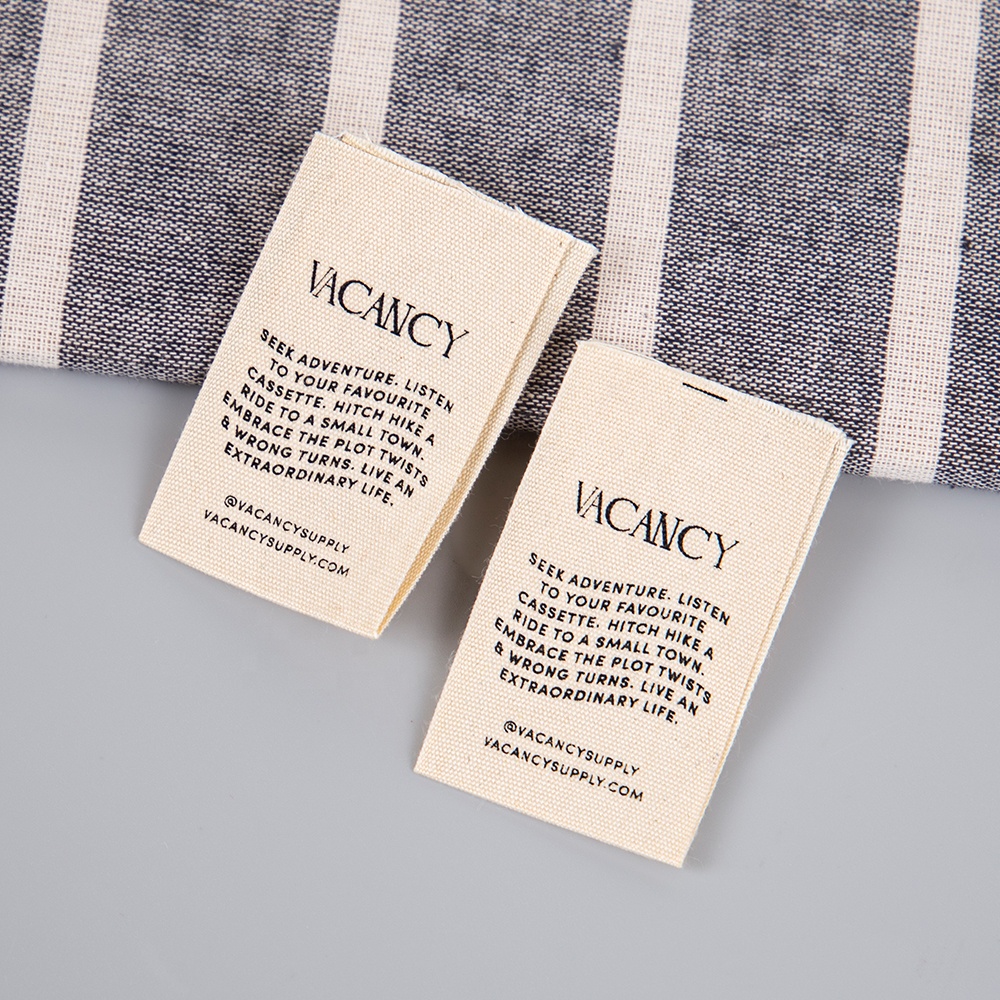
A wide wordmark often works with a horizontal label. A stacked logo may need more height. Consider the whole neck area: a separate size tab, collar seam and label should sit comfortably together. Adding extra width will not help if a narrow neckline has little room.
Hem and side-seam labels
These are good places for a short name or simple symbol. A label wrapped over a hem has a front and a back, while a tab caught in a side seam has material hidden inside the seam. Choose the visible face first; we can then plan the rest of the label around it.
Care labels
For care labels, start with the actual wording and symbols. Longer text may need a longer strip, printing on both sides or several folded pages. We can arrange the layout before choosing its size, rather than squeezing everything into a small rectangle.
Small size tabs
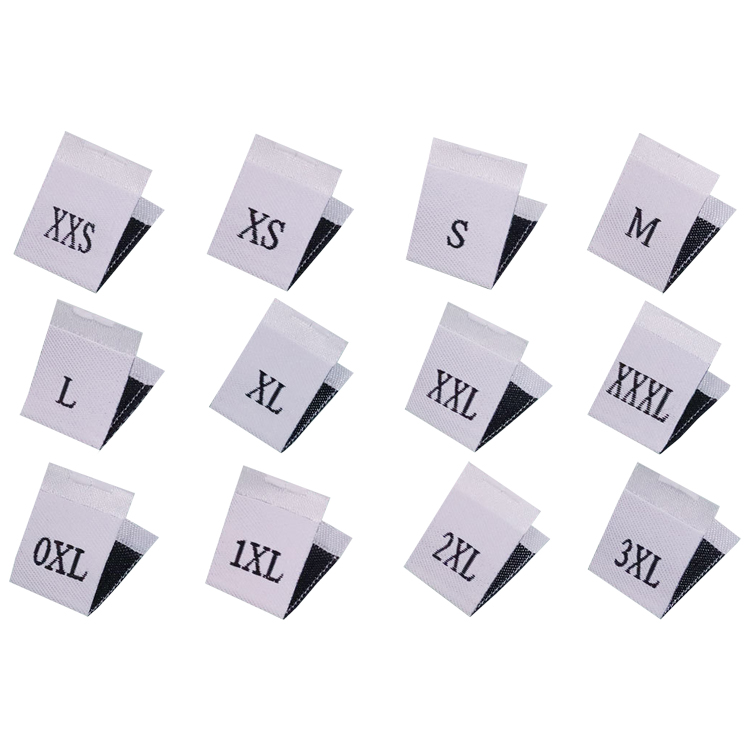
A garment size such as S, M or XL is the information on the tab. It does not tell us the tab’s physical width or height. Leave enough room for your longest size marking, whether that is XL, 3XL or a number, so the range looks consistent.
Does woven or printed construction change the size?
It can change how much detail fits comfortably. In woven labels, the logo is formed in yarn. Letter shapes, spacing and weave density all affect the result. For a small face, a simple mark is often a better starting point than a logo surrounded by several lines of text.
Printed labels give us another way to arrange fine lettering and multicolor artwork. The fabric surface and printing method still matter. We do not apply one minimum font size to every design; we review the actual artwork and show the result on a sample.
Keep the visible face, folds and sewing space separate
An end fold turns the ends under the label. A center fold bends the piece in the middle to create two faces. These are different constructions, as illustrated in Dutch Label Shop’s fold guide. Neither name tells you how much fabric will be hidden after sewing.
When you send a size, a short note such as “50 × 20 mm visible face, end folds extra” removes the ambiguity. We can prepare the unfolded dimensions and show where the logo, folds and stitching belong.
Two simple fold calculations
Example 1: a label with left and right end folds
Suppose the face between the folds is 50 × 20 mm, and the design uses a 5 mm turn-under at each end. The unfolded piece is (50 + 5 + 5) × 20 = 60 × 20 mm. Stitching still needs its own space within the finished face, away from the logo.
Example 2: a center-folded tab sewn into a seam
Suppose each visible face is 20 mm wide and 20 mm high. Add an illustrative 5 mm sewing allowance at each of the two open ends. The unfolded piece is 20 × [2 × (20 + 5)] = 20 × 50 mm. Folded in half, it is 20 × 25 mm; sewing 5 mm into the seam leaves a 20 × 20 mm face outside.
These calculations describe simple folds. The 5 mm allowances are examples, not a default for every label. Extra turnbacks or a different sewing method change the drawing.
See the layout at its actual size
A paper printout at 100% scale is a useful first look at the proportions on your garment. It shows whether the name feels too wide or the care text looks crowded. A fabric sample then lets you see the real lettering, folds and feel.
Send us your logo or wording and a photo of where the label will sit. If the dimensions are still undecided, we can help choose a starting size and develop the layout with you.
Frequently Asked Questions
Related Guides & Products
- Custom Woven Labels
- Custom Printed Labels
- Custom Care Labels
- Custom Size Labels
- Woven Label Size Guide: Logo Proportions, Borders & Folds
Send your logo or care wording, a garment photo and the quantity you need. We’ll help with the size, material and folds.
Discuss Your Label